
If you have downloaded the Lua installer for Windows, the system has most likely shown you a blue window saying “Windows protected your PC” and then a User Account Control prompt with “Publisher: Unknown”. It is a little alarming, and it is natural to wonder whether the program is dangerous. It isn’t, but we are not asking you to simply take our word for it either: in this article we explain why that warning appears and, above all, how you can build Lua yourself from the source code, so that the program you run comes out of your own computer.
Why Windows says the program can’t be trusted
The warning comes from Microsoft Defender SmartScreen, a filter that checks programs downloaded from the Internet before they run. SmartScreen looks mainly at two things:
- Whether the program has a digital signature. A developer or a company can “sign” their executable with a code signing certificate (Authenticode). Not just anyone can make one: it is issued by a certificate authority that Microsoft recognises (or by Microsoft’s own signing service) after verifying the identity of whoever requests it. When the file is signed, Windows can show the publisher’s name instead of “Unknown”.
- Reputation. SmartScreen keeps track of how many people have downloaded and run that exact file without problems. A new program, or a freshly released version, doesn’t have that reputation yet.
The Lua installer is not signed, and every new version is a different file that nobody has run before. That is why Windows treats it as “unknown”. The warning does not mean that a virus was detected: it only means that Windows doesn’t know who made it.
Why Lua isn’t signed
Piztu is a free, non-profit educational project. A code signing certificate costs hundreds of euros every year, requires validating a legal entity and, since 2023, the private key must be stored on a special hardware device (a token or a cloud service). And even that doesn’t remove the warning straight away: a signed but new program can still get warnings until it builds up reputation.
It is also worth remembering that a signature tells you who made a program, not what it does. A signed program can be malicious, and an unsigned one can be perfectly safe. Free software offers a different and stronger guarantee: the code is out in the open. Anyone can read it, review it and build it.
If you’d rather use the downloaded installer
In the SmartScreen window click “More info” and then “Run anyway”. Before that, if you like, check that the file is the one we published: on the Releases page each file comes with another one ending in .sha256. In PowerShell, Get-FileHash .\file-name.exe computes its fingerprint; it must match the one in the .sha256 file.
The alternative: build Lua yourself
If you build the program on your own computer, you know exactly which code it came from. And there is a handy side effect: SmartScreen only checks files that arrive from the Internet (the browser marks them as downloaded), so the lua.exe you build yourself doesn’t show that warning.
You don’t need to know how to program. You only have to copy a few commands into a console. You will need:
- 64-bit Windows 10 or 11 with winget (it comes preinstalled; if not, install “App Installer” from the Microsoft Store).
- An Internet connection and about 3 GB of free space.
- 15 to 30 minutes the first time, because many components are downloaded. Later builds are much faster.
Step 1. Open PowerShell
Press the Windows key, type PowerShell and open it. There is no need to run it as administrator: winget will ask for permission when it needs it.
Step 2. Install the build tools
Lua is written in Go, its interface in JavaScript, and it uses the Wails library to create its window. Install Git (to download the code), Go, Node.js and Task (which chains the build steps together). Copy these four lines, one at a time:
winget install --id Git.Git -e
winget install --id GoLang.Go -e
winget install --id OpenJS.NodeJS.LTS -e
winget install --id Task.Task -e
Close PowerShell and open it again so that it picks up the new programs. Check that everything is in place:
git --version
go version
node -v
task --version
Go must be version 1.25 or later, and Node 20 or later.
Step 3. Install Wails
Wails is installed with Go itself. We use the same version that Lua’s code specifies (in the go.mod file):
go install github.com/wailsapp/wails/v3/cmd/wails3@v3.0.0-beta.14
Check that it works with wails3 version. If PowerShell says it doesn’t recognise wails3, close and reopen the console: the Go installer adds the %USERPROFILE%\go\bin folder to the PATH, but only new consoles see it.
Step 4. Download the code from GitHub
Go to your home folder and clone the Lua repository:
cd $HOME
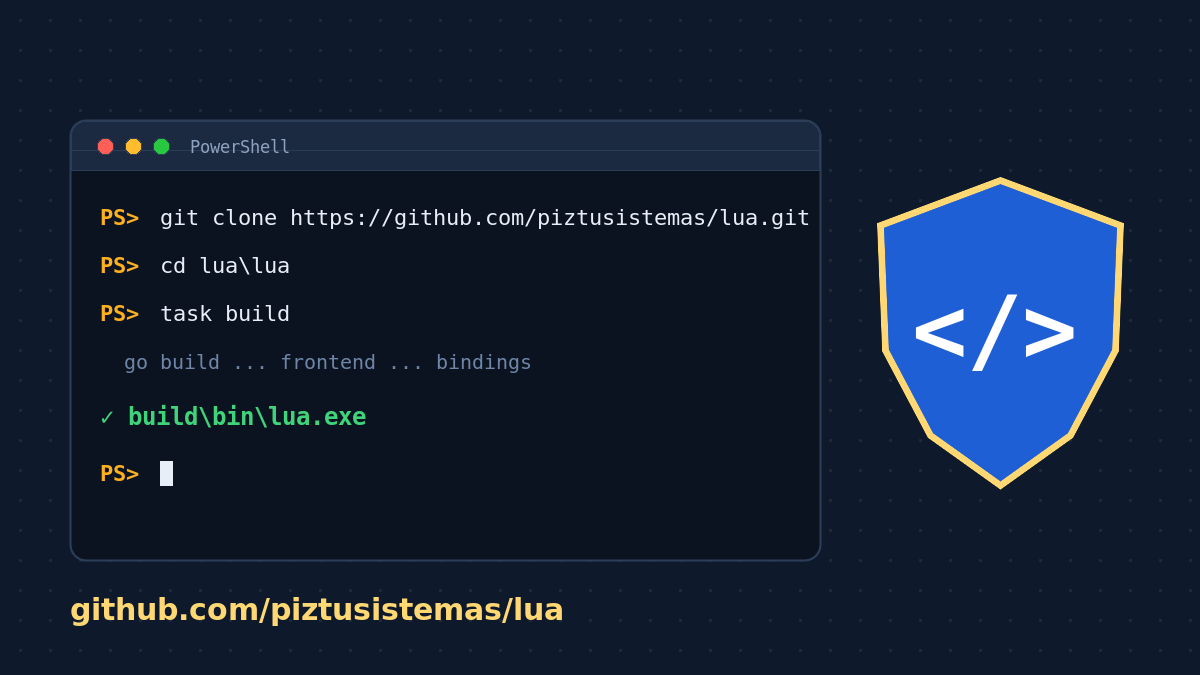
git clone https://github.com/piztusistemas/lua.git
cd lua
This downloads the latest development version. If you’d rather build exactly a published version, switch to it by its tag (for example, 26.10.9):
git tag
git checkout 26.10.9
You now have all the code in the lua folder, and you can open and review it whenever you like. The most important parts:
lua\lua: the application.lua\lua_installer: the installer, with thebuild-windows.ps1script we will use in step 6. It is short and commented: it is worth reading before you run it.edicion: the shared engine (templates, LaTeX, Word and OpenDocument).
Step 5. Build Lua
cd lua\lua
task build
The first time takes a few minutes: Go downloads its libraries, npm downloads the interface’s ones, the interface is generated and finally the program is compiled. If all goes well, the result is in:
lua\lua\build\bin\lua.exe
You can open it right away with .\build\bin\lua.exe (or with task run). This executable runs on its own, but to produce PDFs Lua needs a LaTeX distribution; in the next step the installer takes care of that.
Step 6 (recommended). Build the installer
The installer takes lua.exe, copies it to C:\Program Files\Piztu\Lua, creates the shortcuts and uses winget to install what Lua needs for documents: MiKTeX (LaTeX) and Pandoc. To build it:
cd $HOME\lua\lua\lua_installer
powershell -ExecutionPolicy Bypass -File .\build-windows.ps1
By default Windows doesn’t allow PowerShell scripts to run; the -ExecutionPolicy Bypass option allows it only for this command, without changing the computer’s settings. The script checks that you have the tools, builds Lua again, puts it inside the installer and builds the installer. When it finishes it says:
✅ Compilado: lua_installer\build\bin\lua-installer.exe
Double-click that file to run it. Windows will ask for administrator permission (the installer has to write to Program Files). The User Account Control window will still say “Publisher: Unknown”, because the executable is still unsigned, but this time you are the one who built it.
Step 7 (optional). Run the tests
Lua has hundreds of automated tests. If you want to check that your build behaves as it should:
cd $HOME\lua\lua\lua
go test ./...
It takes a couple of minutes. Tests that need LaTeX, LibreOffice or Maxima are skipped automatically if those programs are not installed.
Updating to a new version
When we publish a new version, you don’t need to repeat everything. Open PowerShell and run:
cd $HOME\lua
git checkout main
git pull
cd lua\lua_installer
powershell -ExecutionPolicy Bypass -File .\build-windows.ps1
If something goes wrong
- “task” (or “go”, “git”, “wails3”) is not recognized as the name of a cmdlet: close and reopen PowerShell after installing. If it persists, sign out of Windows and back in.
- Error while building the interface (npm): check with
node -vthat you have Node 20 or later. - The installer installs an old version: always use
build-windows.ps1rather thantask buildinsidelua_installer, because the script is what puts the freshly built Lua inside the installer.
If you have questions, the code, the technical documentation (the 02-DOCS folder) and the change history are at github.com/piztusistemas/lua. That transparency is, in fact, the best signature a program can have.